How to publish your Godot game on Mac
Since 2019, Apple has required all MacOS software to be signed and notarized. This is meant to prevent naive users from installing malware while running software from unknown sources. Since this process is convoluted, it stops many indie game developers from releasing their Godot games on Mac. To solve this, this article will attempt to document each and every step of the signing and notarization process.

Step 0: Get a Mac
While there tools exists to codesign/notarize Mac executables from other platforms, I think having access to a MacOS machine will remove quite a few headaches.
A Mac VM, or even a cloud machine, might do the job. I have not personally tested those alternatives, so if you do, please tell me if it works well.
Step 1: Get an Apple ID and the Developer App
You can create an Apple ID through Apple’s website. While the process should be straightforward, it seems like Apple has trust issues when it comes to email from protonmail.com or custom domains. Do not hesitate to contact support in case you encounter issues creating or logging into your Apple ID. They are quite responsive.
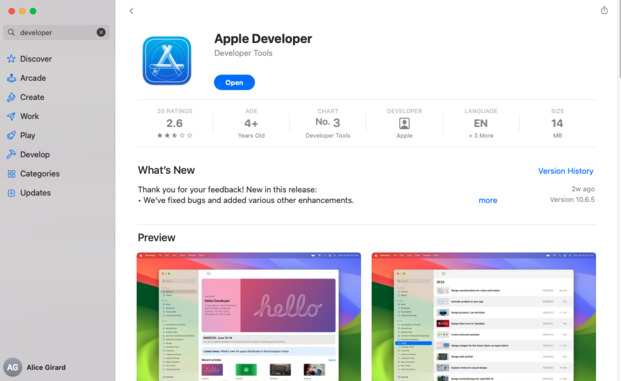
Once you have a working Apple ID, use it to log into the App Store on your Mac and install the Apple Developer application.
Step 2: Enroll in the Apple Developer Program
Next, open the Apple Developer app, log in, and ask to “Enroll” in the developer program.
This will require you to scan your ID, fill in data about you and your company, and most likely confirm those data with a support agent by phone. The process costs ~99$ and should take between 24 and 48 hours.
Step 3: Setup Xcode
Xcode will be used to codesign and notarize your app through Godot. You should install the app through the App Store like you did for the Apple Developer application.
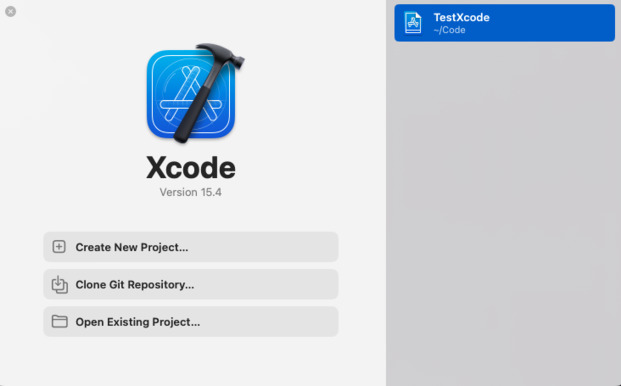
Once the app is installed, we need to accept the license.
First, launch Xcode and close it. Then open a terminal and run the following commands:
sudo xcode-select -s /Applications/Xcode.app/Contents/Developer
sudo xcodebuild -license accept
Step 4: Generate a certificate signing request
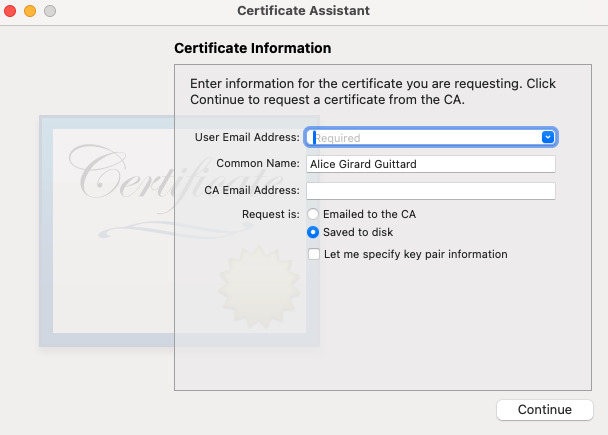
To obtain a code signing certificate, we need to generate a certificate request.
To do this, open Keychain, and from the top menu, select Keychain Access > Certificate Assistant > Request a Certificate From a Certificate Authority. Fill in your email address and choose Request is: Saved to disk. Click on Continue and save the .certSigningRequest file somewhere.
Step 5: Obtain a code signing certificate
Now, head to the Apple Developer website. Log in and go to the certificate list. Click on the + button to create a new certificate. Check Developer ID Application when asked for the type of certificate and click on continue.
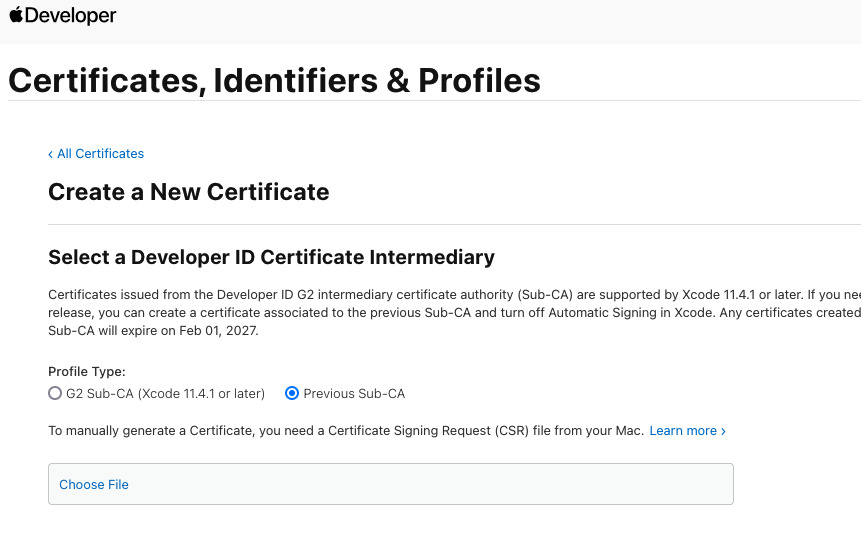
On the next screen, upload the certificate signing request we generated in step 4.
You’ll be prompted to download your certificate. Do it and add it to Keychain by double-clicking on the file.
You can check that your certificate was properly added by running the following command:
security find-identity -v -p codesigning
It should return (at least) one identity.
Step 6: Get an App Store Connect API Key
Back to the Apple Developer website, go to Users and Access, and open the Integrations tab. From this page, you should request access to the App Store Connect API. This access should normally be granted immediately.
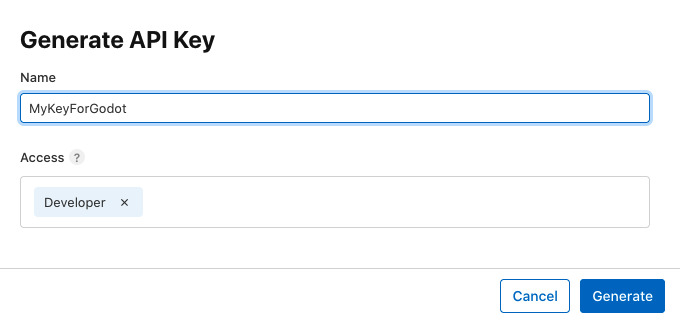
From this page, create a new key by clicking on the + icon. Give your key a name you will remember and give it the Developer access. Click on Generate and the key will be created.
You will then be prompted to download your key. Do it and store the file safely, as you will only be able to download it once.
Step 7: Configure Godot
Open your Godot project and head to the project settings using the top menu (Project > Project Settings). From there search for VRAM Compression and check Import ETC2 ASTC.
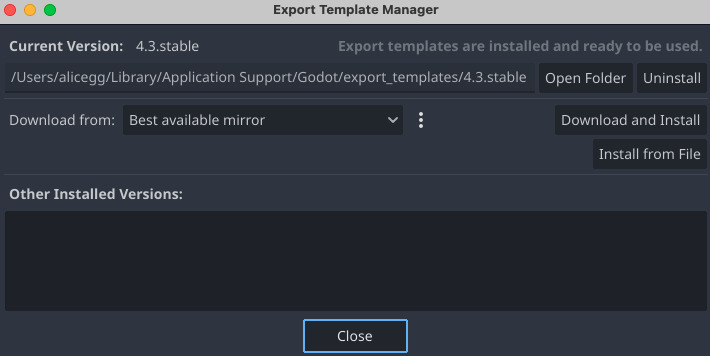
Then make sure you have installed up-to-date export templates by going through the Editor > Manage Export Templates menu and clicking on Download and Install.
To export your project, head to the Project > Export.
Click on Add and select macOS to create new presets.
In the presets form on the left, you’ll have to fill in a unique Bundle Identifier in the Application section, this can be com.yourcompany.yourgame.
In the Codesign section, select Xcode codesign and fill in your Apple Team ID and Identity.
Those can be found using the security find-identity -v -p codesigning command: the first (~40 characters) part of the output is your identity, and the last (~10 characters, between parentheses) is your Team ID.
In the Notarization section, select Xcode notarytool and fill in your API UUID (found on the appstoreconnect page), API Key (the file you saved in Step 6), and API Key ID (also found on the appstoreconnect page).
Click on Export Project… to start the export.
Step 8: Checking the notarization status
Godot will automatically send your exported file for notarization.
You can check the notarization progress by running:
xcrun notarytool history --key YOUR_AUTH_KEY_FILE.p8 --key-id YOUR_KEY_ID --issuer YOUR_ISSUER_ID
According to Apple, the process should rarely take more than 15 minutes. Empirically, this is sometimes very false and the process can give you enough time to grab a coffee, bake a cake, and water your plants.
Once the notarization appears completed (with the status Valid or Invalid), you can run this command to check the result (using the job ID found in the previous command output):
xcrun notarytool log --key YOUR_AUTH_KEY_FILE.p8 --key-id YOUR_KEY_ID --issuer YOUR_ISSUER_ID YOUR_JOB_ID
Step 9: Stapling your executable
To make sure that your executable can work offline, you are supposed to ‘staple’ the notarization to it. This is done by running the following command:
xcrun stapler staple MY_SOFTWARE.dmg
Extra: Exporting the game as .app
Godot can export your game as .dmg, .zip, or .app. For most users, it is more convenient to receive the game as .app, as those can be directly executed. However, the notarization process doesn’t support uploading .app files to Apple’s server.
I think the proper way to obtain a notarized .app file is to:
- Export the project .dmg from Godot with code signing and notarization
- Mount the .dmg and extract the .app located inside of it
- Staple the .app bundle
Extra: Code signing GodotSteam
GodotSteam is a Godot add-on that wraps the Steam API inside GDscript. If you use it, you might encounter issues during notarization, because it adds a bunch of .dylib and .framework files.
What I did to work around that was to codesign the framework folders:
codesign --deep --force --verify --verbose --sign "Developer ID Application: My Company" libgodotsteam.macos.template_release.framework
codesign --deep --force --verify --verbose --sign "Developer ID Application: My Company" libgodotsteam.macos.template_debug.framework
I also checked the options Allow DyId environment variable and Disable Library Validation in the export settings (section Codesign > Entitlements).
FAQ: Is this really necessary if I’m just going to publish my game on Steam?
Actually, I’m not 100% sure, but I think it is only “recommended” and Steam can bypass the notarization. Steamworks does contain a checkbox asking if App Bundles Are Notarized, so I assume it might do something.